Now everyone is more like new things, I hope that their own things are different, I naturally can not be an exception, I will extend my magic to my MacBook Air (hereinafter referred to as simply MBA). Yes, tired of the white backlight, I used to understand the structure of the MBA's backlit keyboard, so I decided to use the most simple method, which is to directly layer the reflective paper and keyboard structure of the keyboard. transparent plastic. These may have ruined me, although the universal Taobao can solve the problem I bought, but what color should I buy?
In my analysis, the first thing to do is to rule out dark colors. After all, the colors are dark, and there is a serious drop in light transmittance (dare to dare to get a black paper). Red, looks like this color is still quite common, basically the game book of about 5,000, the red keyboard backlight is indeed more common, although I think this color brings the visual impact can still be. green? This is really the color I chose almost. It should look pretty, but Razer, I still think about it?
Then the brain was short-circuited and sky blue was chosen. Because I personally prefer blue, green, and red (orange) colors, but I originally thought that the MBA comes with white light, the color temperature is always cold, and the white is a little blue. I'll give you a sky blue transparent plastic sheet. It is not easy to see the difference, lack of shock. Later facts proved that my conjecture was correct. What was more unexpected was that the brightness dropped so much that it exceeded my expectations. It was also one-half of the original brightness. It was difficult to see when the environment was relatively bright. The difference in color with the original white light reflects the weak brightness and even makes it almost impossible for me to feel the presence of a keyboard light.
 Remove the back of the ten screws, pay attention to the MBA version of 13 years to 15 years (stencil number A1465)
Remove the ten screws from the back, and note that the top two screws of the MBA version from 13 to 15 (Mold No. A1465) are the long screws. Save the screws while placing them.
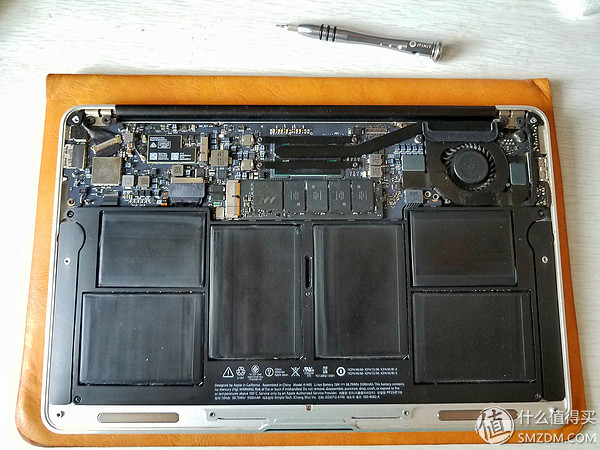
First disconnect the battery connection, a total of five screws in the four corners of the battery and in the middle, note that the two screws below are short screws, the remaining three screws are the same length of long screws, pay attention to save distinction. Here to praise MBA, the battery is not glued to glue, easy to remove and replace, remove the screw, you can easily take it out.
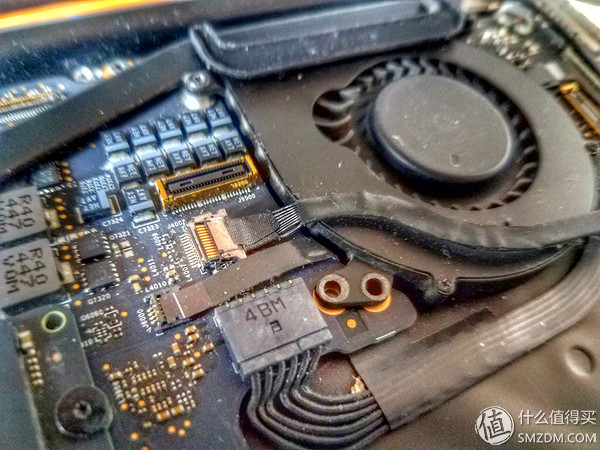
Remove the fan screw, disconnect the fan power cable, main and sub-board cables, and remove the fan, sub-board, etc. Remove the wireless network card. Because the wireless network card blocks one of the three screws that remove the motherboard, disconnect all the harnesses connected to the motherboard and remove the motherboard.

Remove the speaker, I also want to like this speaker, sound quality is pretty good, but it is glued on, with a little strength can move a little, but it can not go down, and later decisive on the knife, from the gap with the fuselage Plug in and finally remove the speaker

Then the first step that I thought was the most difficult was tearing the reflective paper, but the tear was not shredded but it was carefully torn and could not be broken. You can use a knife to directly insert the edge of the glue and the fuselage gap, the blade toward the body, but a little carelessness will directly cut the black reflective paper (the other side is white) together, although a little bit of damage is not large Obstructed, but the best is still not, after all, my heart is not right.
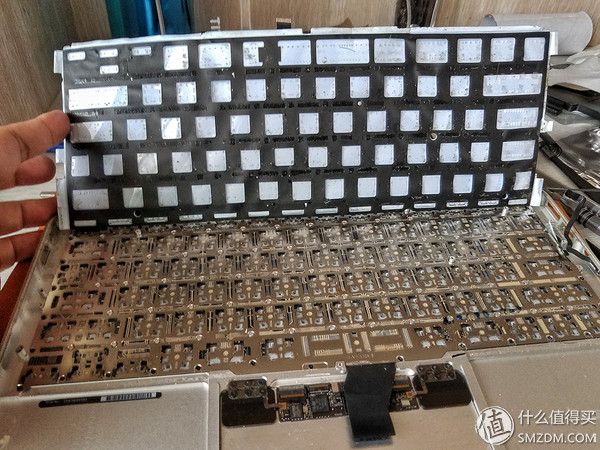
The key lies in carefulness, patience, perseverance, and continuous efforts. I also completed this step basically perfectly. At this time, I noticed that the black frame and the reflective paper should be uncovered as a whole and should not be separated. It is said that the separation will cause uneven backlight.
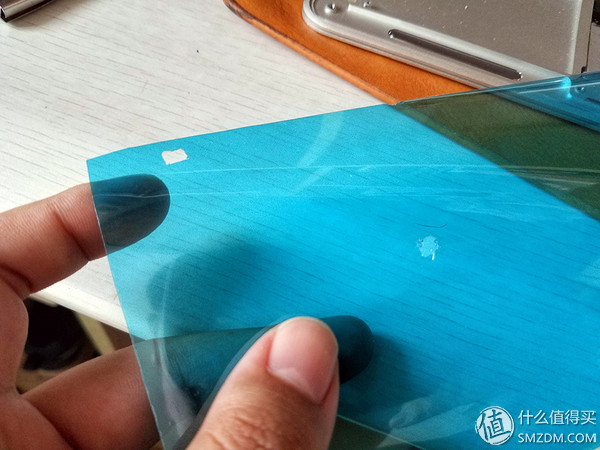
This is followed by cutting and punching plastic sheets because there are three raised screw bases on the keyboard.

Cover, re-press the glue on the edge, I did not re-adhesive, I feel that the residual is enough, and then install the disassemble the order of reverse, until the bottom of the installation cover, confirm that everything has been restored , The boot test, all demolished should try to try as much as possible, or even microphone, because the demolition of the sub-board involved.
Everything is completed, the bottom cover, completed.
Third, summaryIn the whole process, there is basically no difficult place. Basically, it is a step-by-step unloading screw. This generation of MacBook Air is still very well dismantled, with no significant glue or dark buttons. The only regret is the mistake of color selection