The disassembly of this post is actually very simple for those who are a bit more hands-on, because the landlord does not seem to have bought a sunbather similar to the one used to remove the projector, so stick it out for sharing. Please forgive me, spray please bypass.
1 IntroductionThe projector used by the landlord is the BenQ W1070. In September 2014, it was scouring in the Amoy Sea. Haifengfeng was transported to Hong Kong and brought back home to Shenzhen. It experienced some long waits and some twists and turns. Here is the sun single:
Since buying a projector, of course, want to set up a home theater, but it was still a thorough little white, all the way is to slowly explore their own way, look at the value of friends on the SMZDM experience stickers, drying single stickers, learning in the QQ group, Understand the purchase & installation notes, combined with your own budget, purchased the equipment in about half a year, the projector + 5.1 channel DTS amplifier set + 133 inch screen + video cable + 1186 player + 5T mobile hard disk + Projector bracket + 2 pairs of 3D glasses always cost less than 9,000 yuan (except players and 3D glasses are 90% new 2 hands, all other new) specific configuration is not posted, too low-end, but also afraid of being sprayed At the beginning, there was no drying list.
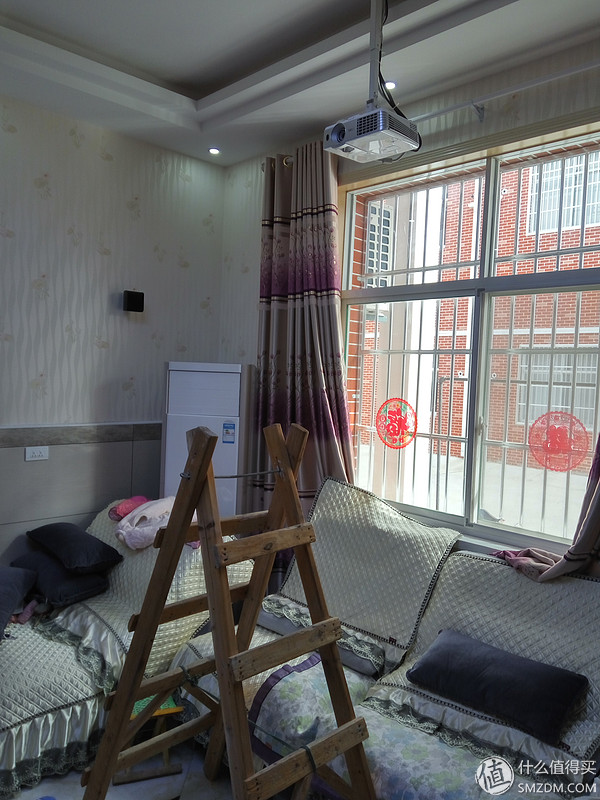
In June 2015, with the completion of home renovation, a full set of equipment was also installed. Afterwards, it was proved that the length, width, size, type, etc. of the various equipments purchased originally met the installation requirements. Unfortunately, because of man-made and some helpless reasons, the installation was still a problem: the curtain was too close to the background wall, and the curtain fell down to interfere with the TV; the distance from the ground was up to 2 meters (simple change can be moved downwards, but too lazy to move ), so some regrets that could have been avoided were left.
2, the problemMany people are worried about fan noise when choosing a projector. The landlord didn't pay special attention. When they bought this projector experience, they found that the fan noise was a little bit louder than the projector (less than 50CM). However, it has not yet reached the point of influencing its use.
During the Spring Festival in 2016, the family reacted suddenly and the projector sounded abnormally. When you turn on the projector, it's really noisy, like a tractor. As the projector just hung over the sofa, noise has seriously affected the viewing. The noise is located at the right rear of the projector where there is just one fan. It is suspected that the fan is dusty. With a soft-bristled brush to remove the dust from the air inlet and outlet, the problem remains, so I decided to disassemble it and investigate the cause.
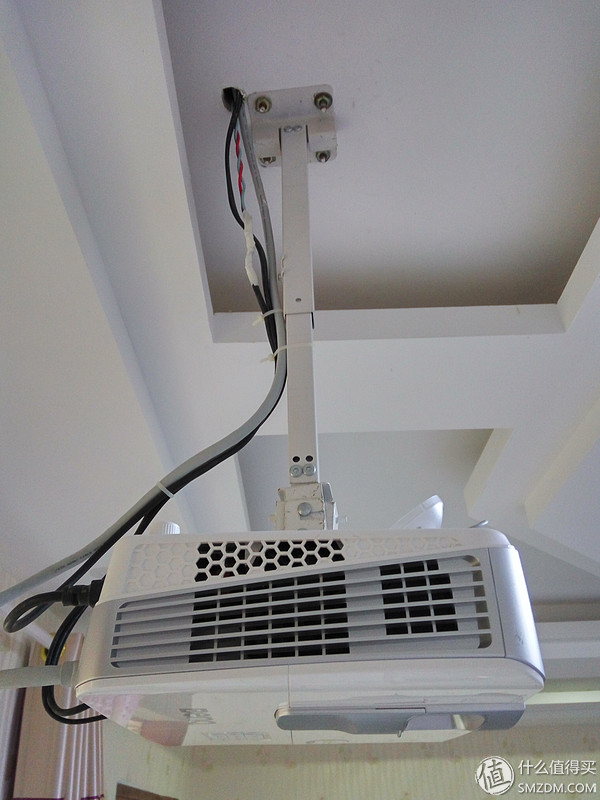
It is very easy to remove the projector, mount the ladder, climb up, unplug the power cord, video cable, and remove the 3 screws on the bracket.

Lots of dust on the machine

Black objects on the panel - flies
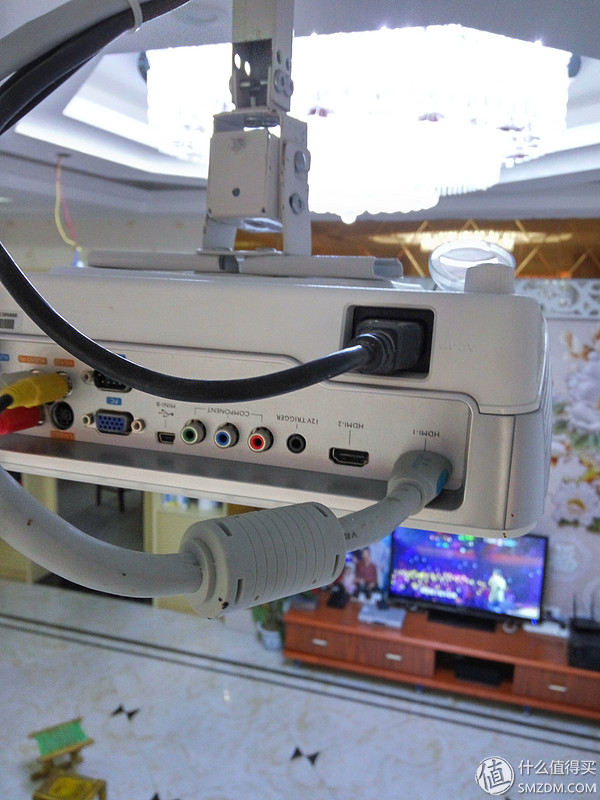
line. The power cord of the projector is directly connected to the wire, and the switch on the wall controls the projector and the curtain circuit.
HDMI cable
 Successfully taken down.

See here, some people may find Tucao: stent is very LOW; HDMI cable only one, but cloth an AV cable, wonderful! I just want to say that the brackets are good to use, that is, the value is low. Cloth AV line, the landlord has its own considerations.
4, disassembleThe first time the projector was disassembled, there was no disassemble drawing on the Internet. According to the dismantling summary at that time, it was actually very simple. There were plum blossom (cross-mouth) screwdrivers and flat-headed (fig.) screwdrivers in the hands.
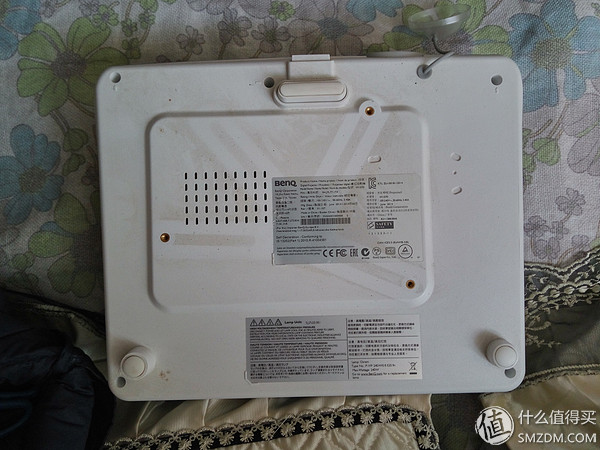
1) Take the bottom screws (crosses, 5).
There are 5 screw holes at the bottom, 4 corners and 1 bracket, all of which are cross holes. They are all removed with the Meihua mouth screwdriver. Originally thought that the screws had been removed, the bottom shell could be removed. Later, it was confirmed that this idea was very naive.
2) Take the side screws (one type, one).
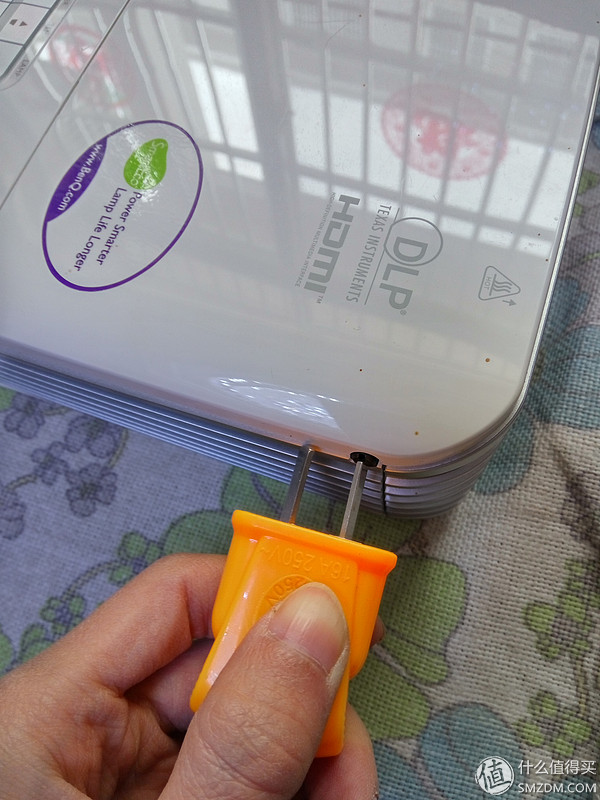
In the upper right corner of the front side, there is a single-head screw, and no screwdriver was found. The tool was used directly and removed. You can see there is a piece of transparent plastic inside with some dust and a fly.

Here should be the location of the light bulb. The printed time is May 2014.

3) Remove the screws in the small cover plate in the upper right corner (cross, 1).
After removing the small plastic plate in the upper right corner, there is also a cross-head screw that can be removed.
The picture was forgotten.
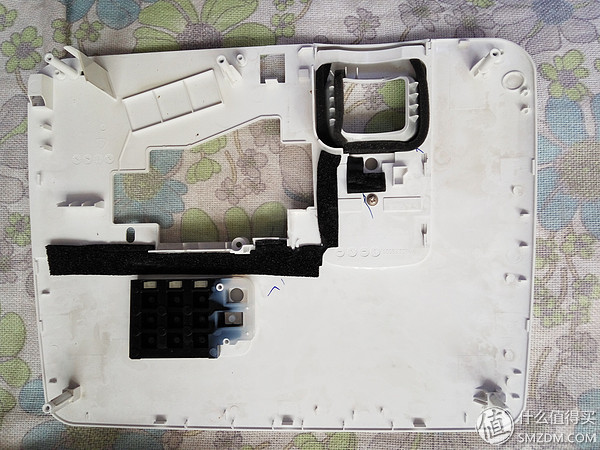
4) Remove the top cover
When you took the entire top of the lid, it was found to be buckled. Finally, there was a position where the buckle was not very good. Do not dare to use too much effort, fear of broken, but fortunately removed. The following figure is just to open the side, open the inside of the situation.

It can be seen that there is a screw hole in this cover plate, that is, a part of the bottom screw is connected to this cover plate on the top, so it is right to take the bottom screw first.
Finally revealed its true face, the arrow is the position of the three fans.

The front, left, and right sides of the fuselage are snap-fit ​​and can be removed. The fan interface is as follows.
5) Take the fan
Inside the fuselage, a total of 3 fans, 2 small and 1 large.
The big fan in front of the fuselage
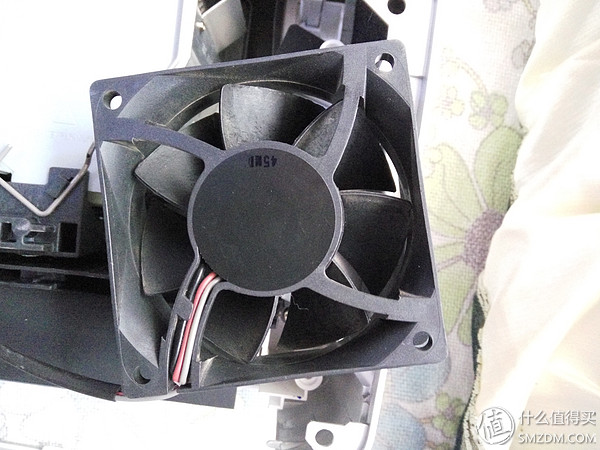
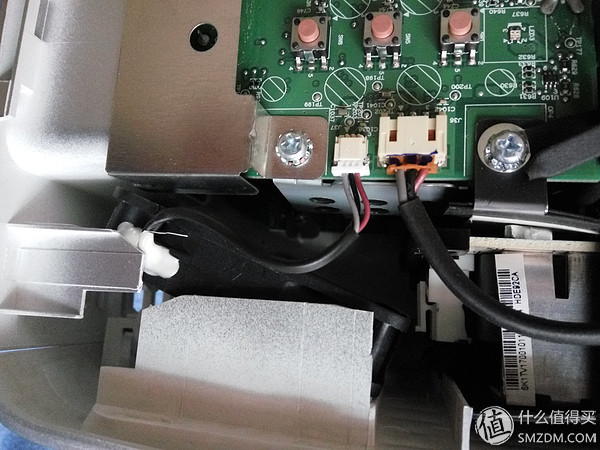
According to the direction arrow of the fan, it is found that the left side is a small inlet fan, the front is a large outlet fan, and the lower right corner is a small outlet fan. According to the noise location, it is determined that the noise of the small fan in the lower right corner is large.
The power cable on the fan is plug-in to the motherboard. The two fans that did not have problems were removed very well. The only problem was that the fan wasn't well taken down. There was a plastic block to block it.

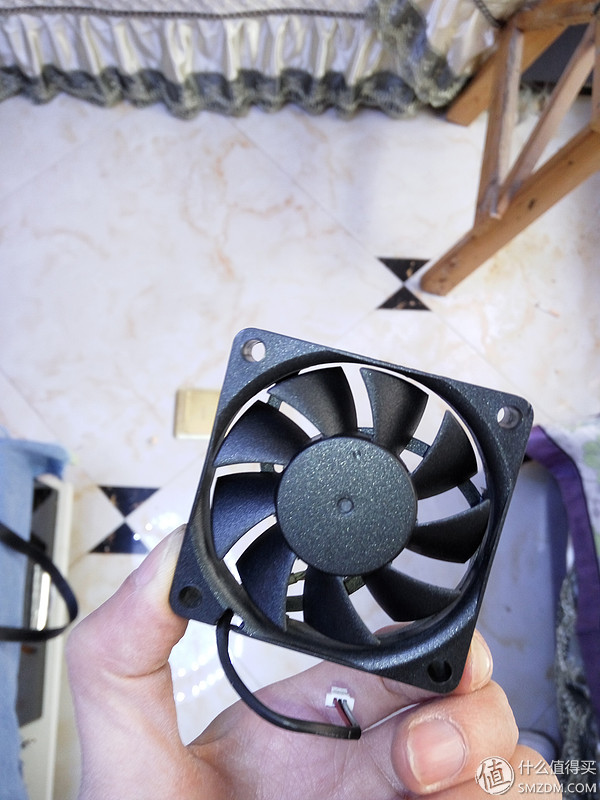
small fan
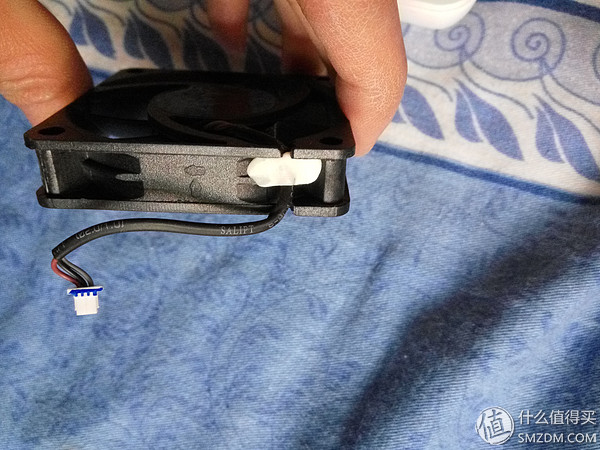
side
2 small fans
Removed 3 fans and found that there wasn't much dust, brushed it with a soft brush, and reinstalled it. No cover was attached, and the power was connected to the computer. With the remote control, the machine couldn't be opened. Only the lid can be installed to boot, but the noise is still there, no improvement, so to determine the fan itself is a problem.
Another toss was reopened. Although I don't understand the fan, I feel that it may not be able to be lubricated. It should be temperature-controlled. I tear the black film on the shaft and see that there is a circuit chip. It seems that only the fan is replaced.
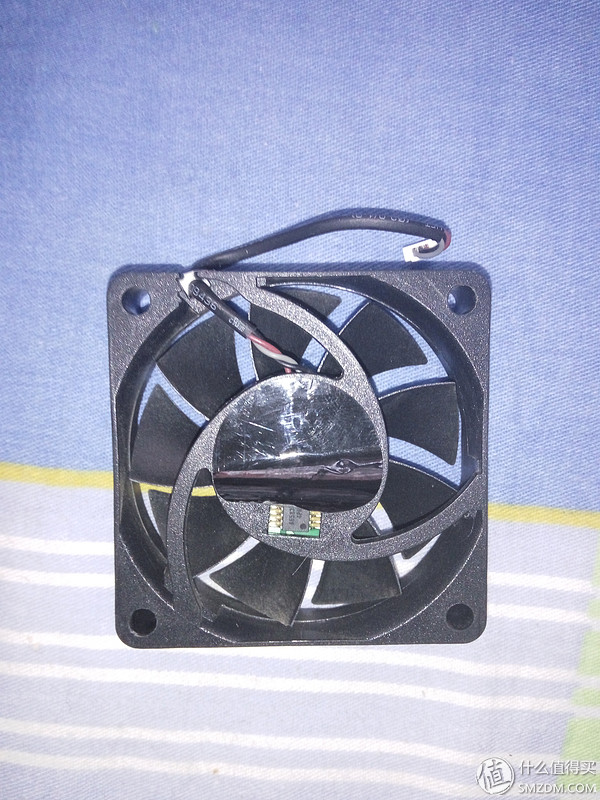
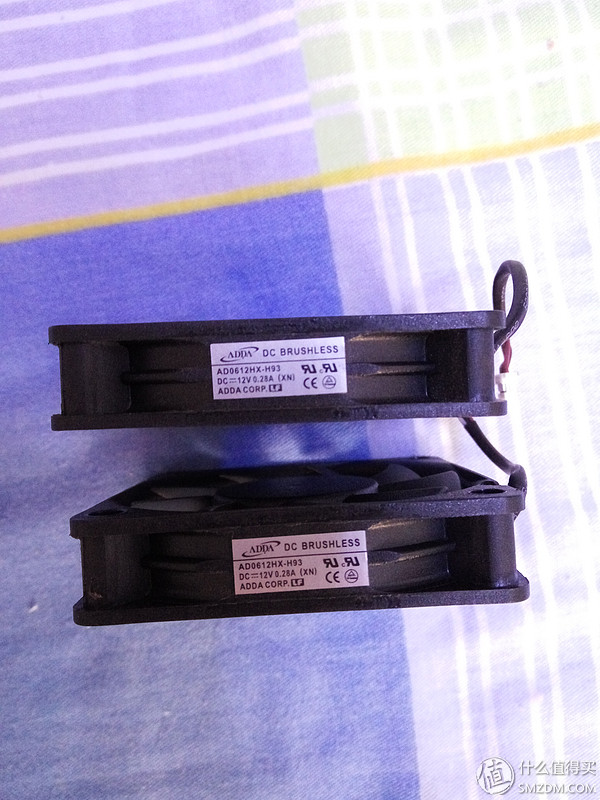
Changing the fan can only buy a new one to replace this problematic one. First searched for the ADDA on the label. It was originally one of the three major fan brands in Taiwan. ADDA is a well-known and well-known solution.
At this time think of is universal Taobao, according to the fan on the suspected model AD0612HX-H93 actually found a (and only one), 10 yuan shipping, look at the appearance of the product pictures are the same, the phone to contact the seller to confirm the availability and the day can be made Goods, want to solve the problem as soon as possible, to make up 20 yuan postage SF Express eight hundred plus, the night of delivery.
Attach Taobao link:
Wait for the arrival of a new fan.

The towns of N-tier cities did not experience the same day as the big cities. The speed of delivery on the morning or the second day of the second day was received on the morning of the third day.

The received fan found that the appearance is basically the same, but there are small differences, the label icon printing is not the same, there is no silk screen on the power line.
In the picture below, the original one above.

The left side of the figure below is original.

Did not think too much, directly replaced with a new fan, cover the boot, the sound is really much smaller.

After confirming that there is no problem, screw it up and hang it up again.
Adjust position

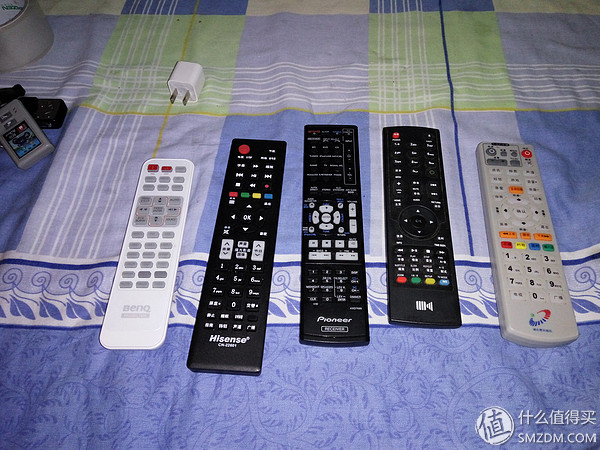
Computer power amplifier
A bunch of remote controls. Someone may say that with what Logitech remote control? can not afford!
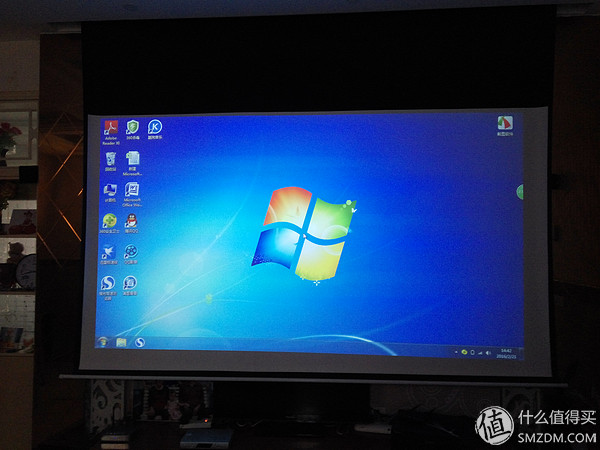
Player plays old movies.

Get it!
Looking at the movie on the sofa, it feels no noise. It feels good to use for a week.
7. SummaryAfter the projector was refitted, it began to use this fan problem, about 9 months, the number of hours used, and forgetting to check the statistics of the lamp usage time in the projector menu, but guessing it should be less than 150 hours. In addition, the light bulb is selected energy-saving mode, the fan mode is also turned off after a period of time (specified what the model forgot) so quickly out of the question, beyond my expectations.
Some people may make fun of you, make you greedy cheap Haitao digital electronic products, a problem, so troublesome, have to repair or spend money to repair. I just want to say that since you have chosen Haitao, you should be prepared for this mentality (the products of Quanguolianbao will not talk about it) and understand the advantages and disadvantages and potential risks. If you have a problem and you can't get a free warranty, you can't solve the problem.
Fortunately, removing the projector is not a difficult task. The problem is the fan, and the solution is easy and smooth. I hope this fan can last longer.
Finally, I used a projector on New Year's Eve to see the end of the picture taken by the Spring Festival Evening (which I didn't really see).

In addition, for home theater do not know much about, want to set up a new home theater friends, it is strongly recommended to take a look at the following introductory articles, welcome to pit: